General content
The General content content type is one of the most widely used. It is designed for use on Content pages, giving editors the ability to add information to their pages using a variety of formatting tools.
It offers similar functionality to standard text editors, like Microsoft Word, and should be used for standard page content.
Instructions
1. In the site structure, navigate to the section (page) you want to add your general content to.
2. Click the blue Actions button and select Create content.
3. Select a General content content type from the list - guidance on how to add a content type
4. A form and editor will appear. Fill in the 'Name' field so you can identify your Content type (this can be a name of your choice). Fill in the 'Title' field - this is the title that will appear on your page.
5. Add content to your editor
| Field title | What should I do? | Is it compulsory? |
|---|---|---|
| Name* | This name will appear behind the scenes and needs to clear and concise so any other editors can quickly identify the content type they need to edit from all the others on the page | Yes |
| Title | This field adds an optional Heading 2 immediately after the Section (page) title | No |
| Main body | This contains the text editor (see below) where you can add content, e.g. text, images, document links, etc., to the page. | Yes |
6. Click Save and approve to save your changes.
The text editor menus and buttons
This is the full set of buttons applicable to General content content type. The editor is also used in other content types such as Accordions and Tabs. The editor options change depending on the content type selected.
Menu row

Text editor menus
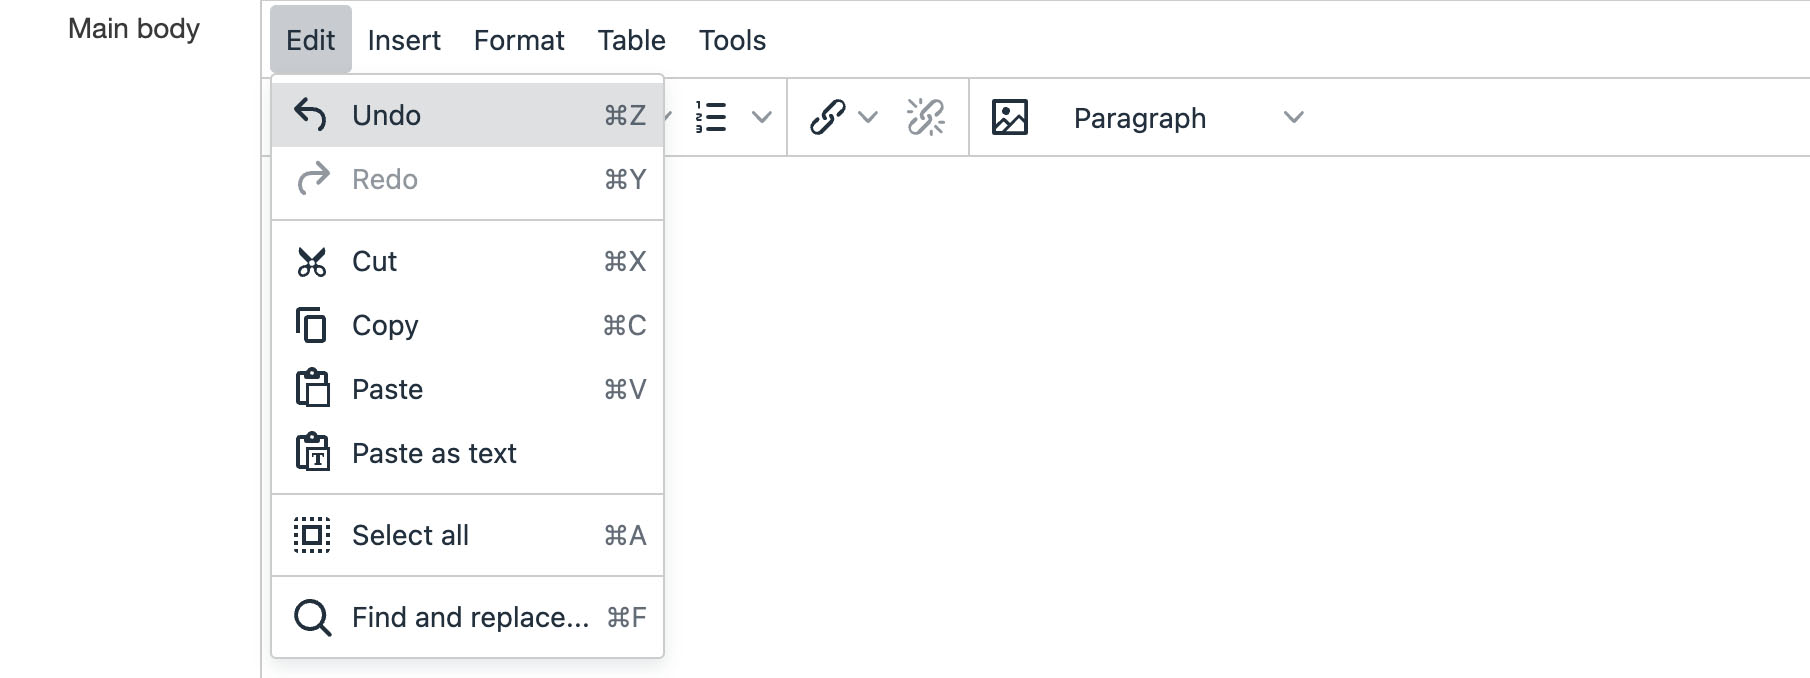
- Undo - undoes the last operation
- Redo - Redoes the last 'Undo' operation
- Cut - Cuts the current selection into the clipboard. You can also use your keyboard - Ctrl+X (Command+X on Mac)
- Copy - Copies the current selection into the clipboard. You can also use your keyboard - Ctrl+C (Command+C on Mac)
- Paste - Pastes the clipboard contents into the editor. You can also use your keyboard - Ctrl+V (Command+V on Mac)
- Paste as text - Removes formatting from clipboard text and pastes as plain text. This is recommended is pasting from Word or a non-T4 web page.
- Select all - Selects all the editor contents. You can also use your keyboard - Ctrl+A (Command+A on Mac)
- Find and replace - Search and/or Replaces contents within the editor. You can also use your keyboard - Ctrl+F (Command+F on Mac)
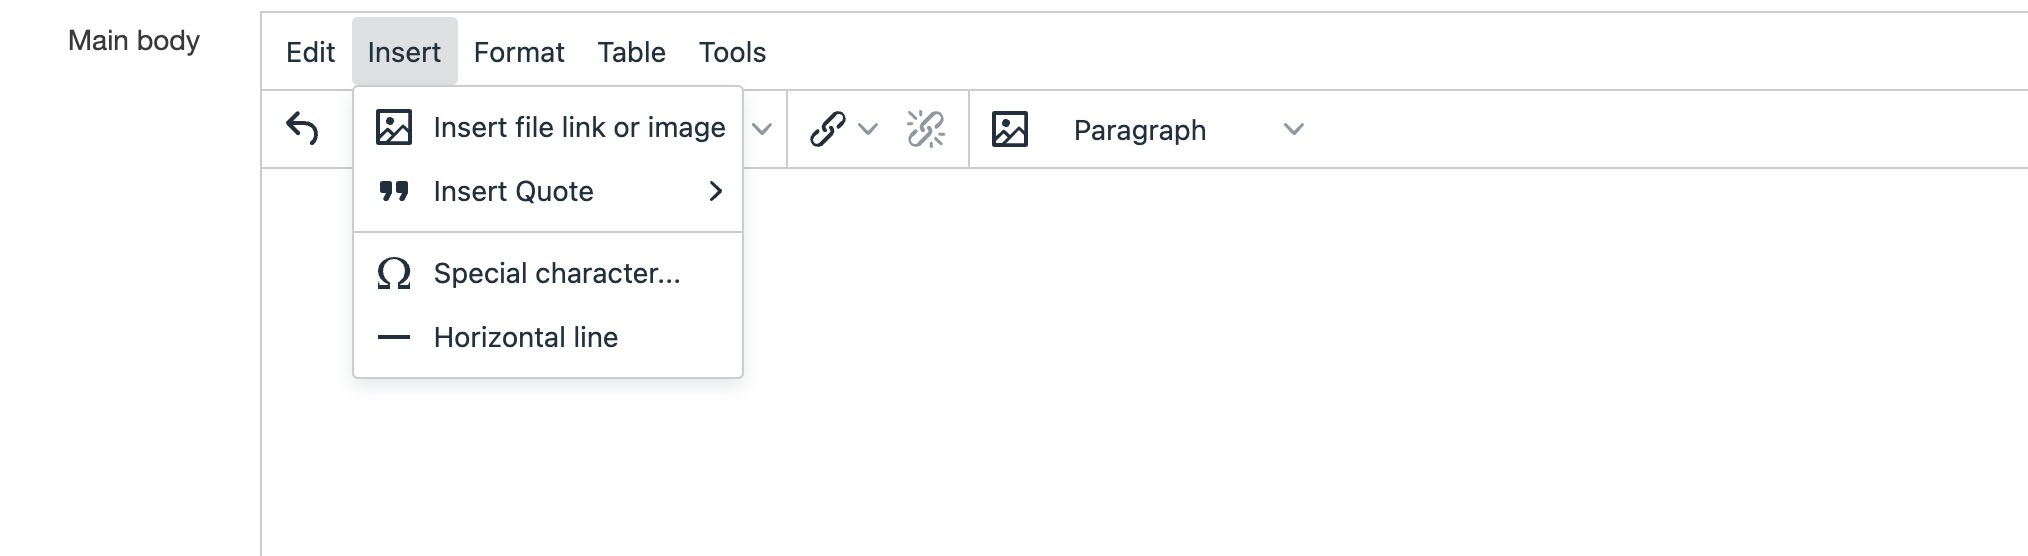
- Insert file link or image - Select a document file or image from the Media Library. When selected, a Media Library dialogue box is opened where you can search for a Media Item. Images are placed into the text editor and can be resized if necessary. When other file types are selected (e.g., a Word document or PDF ), a link to the file is added. Please see Using images in your content or Adding documents: pdfs, Word, zip etc. for more guidance.
- Insert Quote
- Floating pullquote - adds a pullquote which floats around the body text.
- Floating block quote - Adds a block of italic text which floats around your body text.
- Normal blockquote - Adds a full width block of italic text.
- Special character - Allows you to select a special character to use in your text.
- Horizontal line - Adds a horizontal line to break up your content.
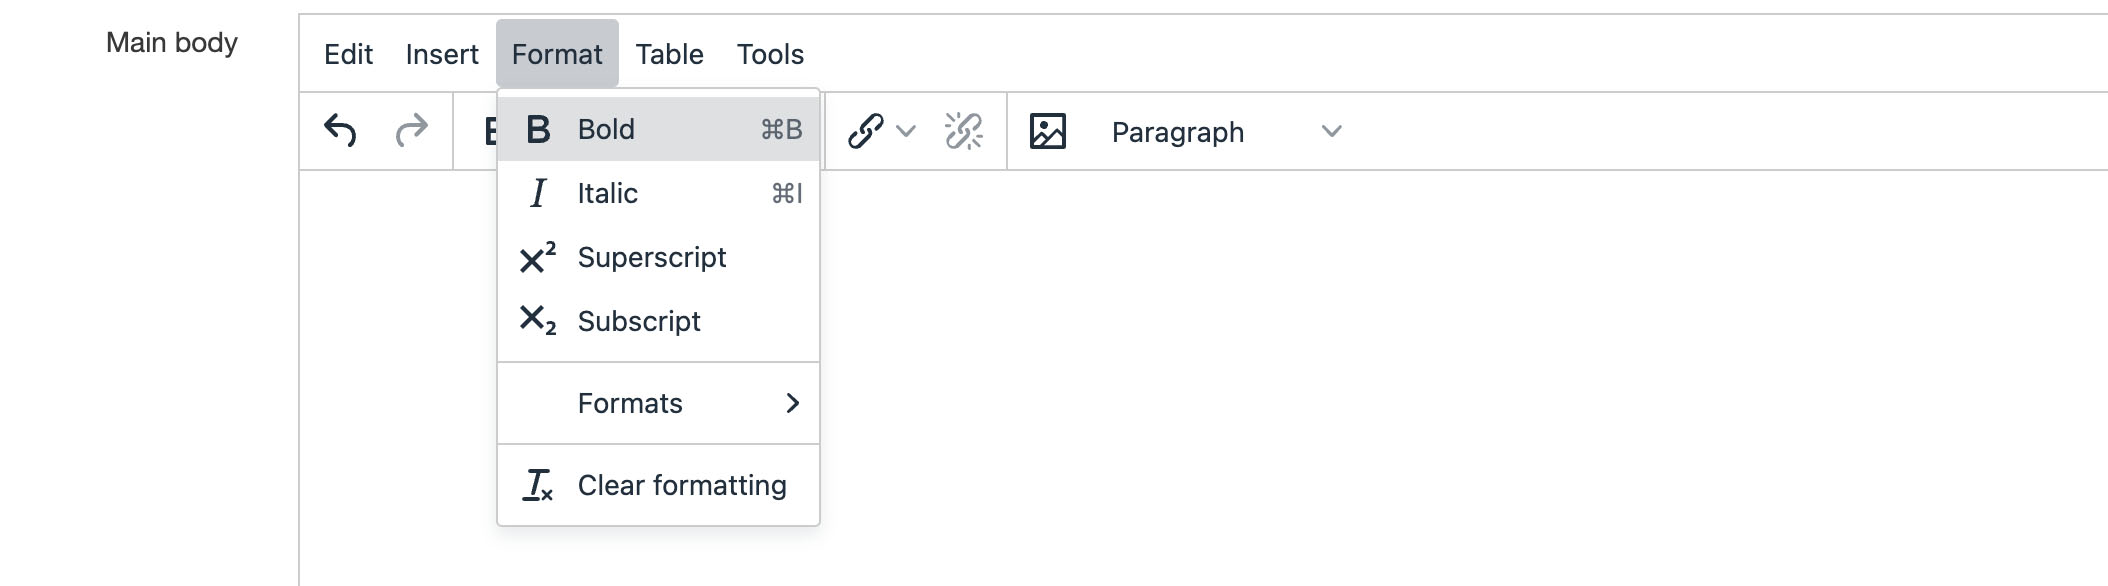
- Bold - Changes the selected text to bold to add emphasis. You can also use your keyboard - Ctrl+B (Command+B on Mac)
- Italic - Italicises the current selection. You can also use your keyboard - Ctrl+I (Command+I on Mac)
- Superscript - Applies superscript format to the current selection.
- Subscript - Applies subscript format to the current selection.
- Formats
- Headings - Select from different heading styles from Heading 2 to Heading 6. Headings are used to give structure to your page so you must use them in the correct order and the one that you think looks the best. For example, you shouldn't use a heading 4 unless you have a heading 3 above and you shouldn't use a heading 3 if you don't have a heading 2 above. There is more guidance on using headings in our accessible content guidance.
- Inline - this is a repeat of the Bold, Italic, Superscript and Subscript options
- Blocks - Allows you to apply a paragraph format to the current block-level element
- Clear formatting - clears the formatting of the selected text
This menu allows you to add a table to your page.
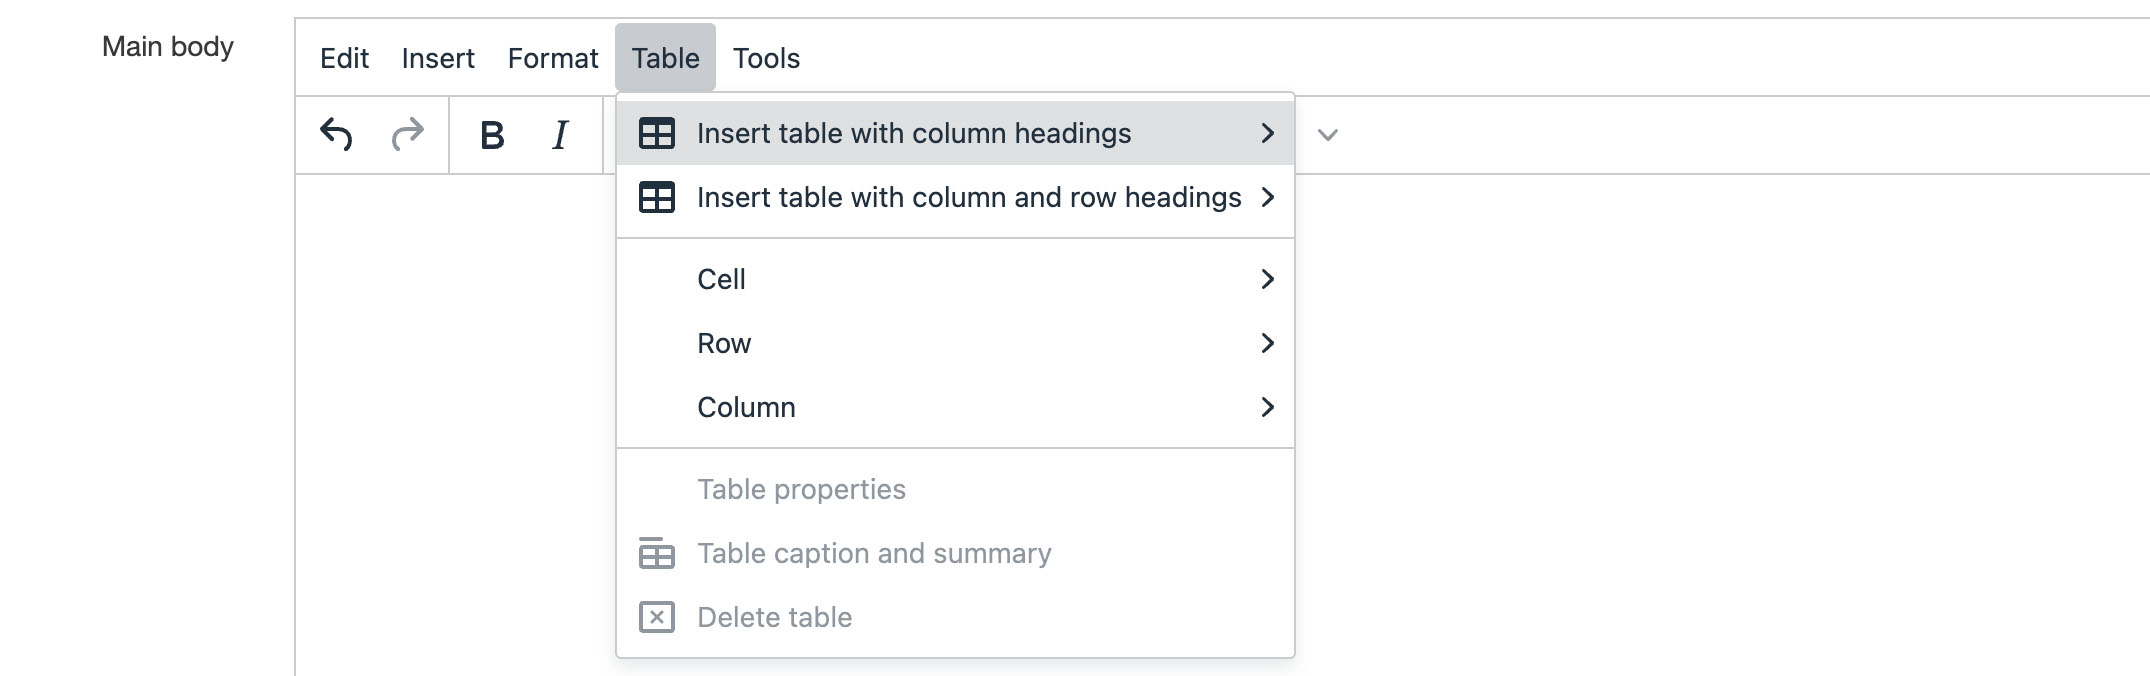 Insert table with column headings - creates a table with a heading row at the top
- Insert table with column and row headings - creates a table with the a heading row and a heading column
- Cell - allows you to edit the options for teh selected table cell including width/height. You can also merge or split cells similar to tables in Microsoft Word.
- Row - options to add, delete, cut or copy rows
- Column - options to add, delete, curt or copy columns
- Table properties - set some overall properties for the table e.g. width, height and cell alignment
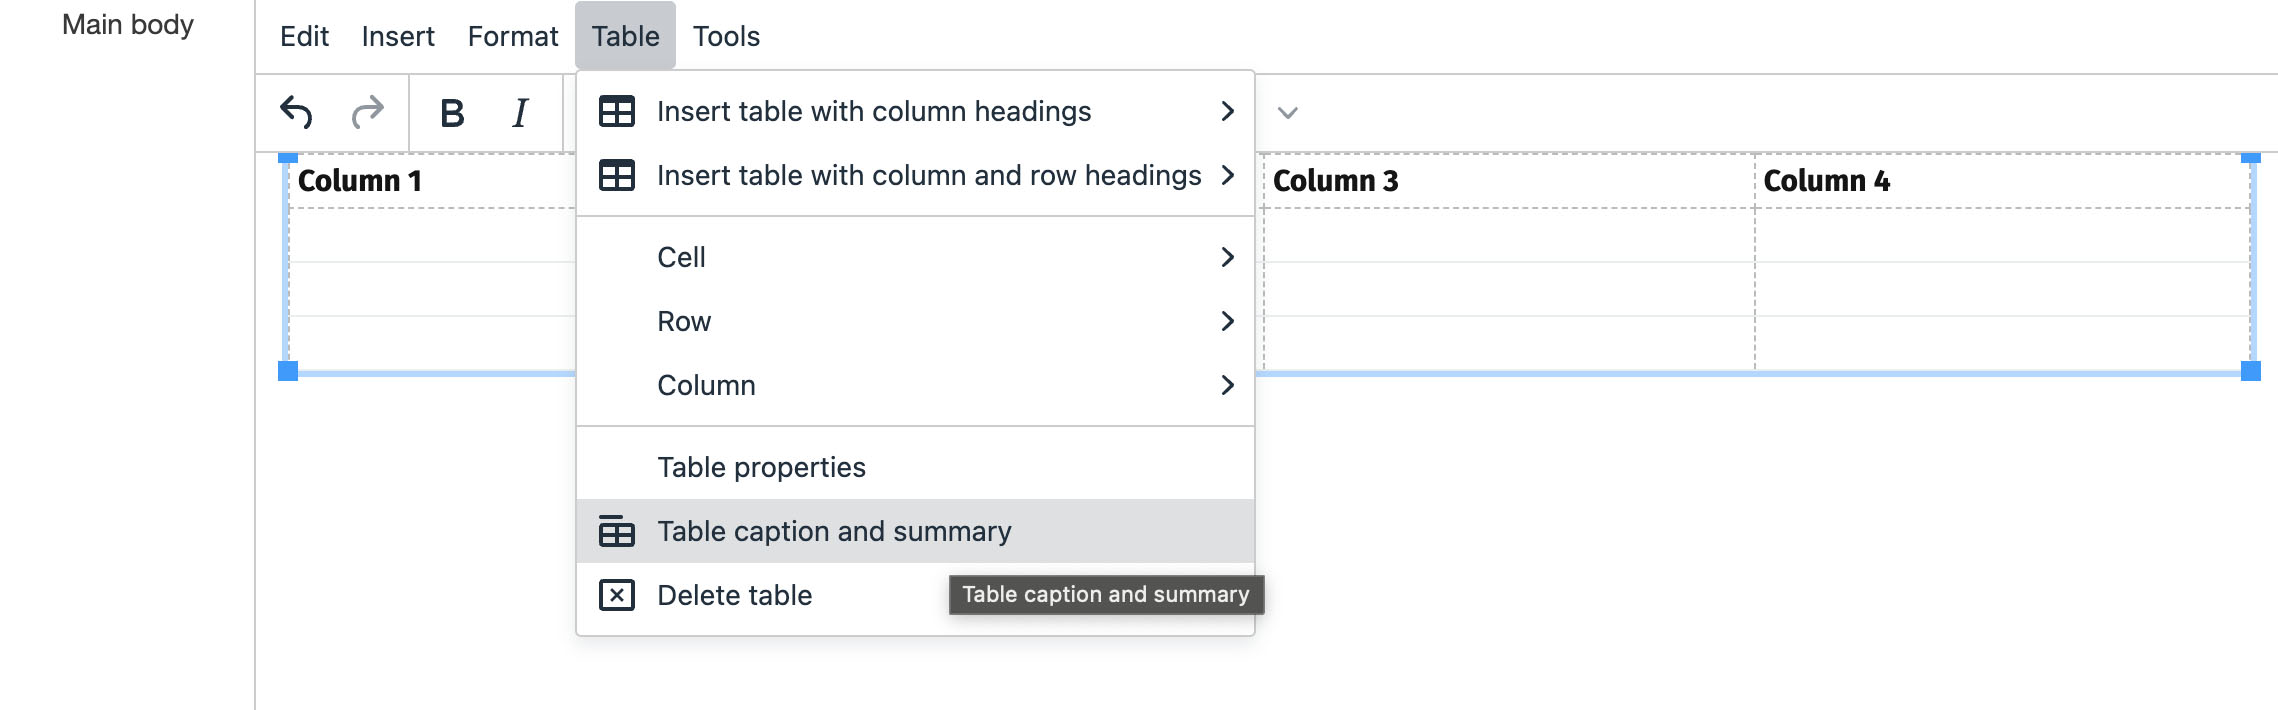
- Table caption and summary - To make your table more accssible to screen readers (see instructions below)
- Delete table - Delete the entire table
Instructions
Adding a new table
1. Click Table on the toolbar menu. Select the number of rows and column you want by moving your mouse pointer and clicking when you have the correct size table.
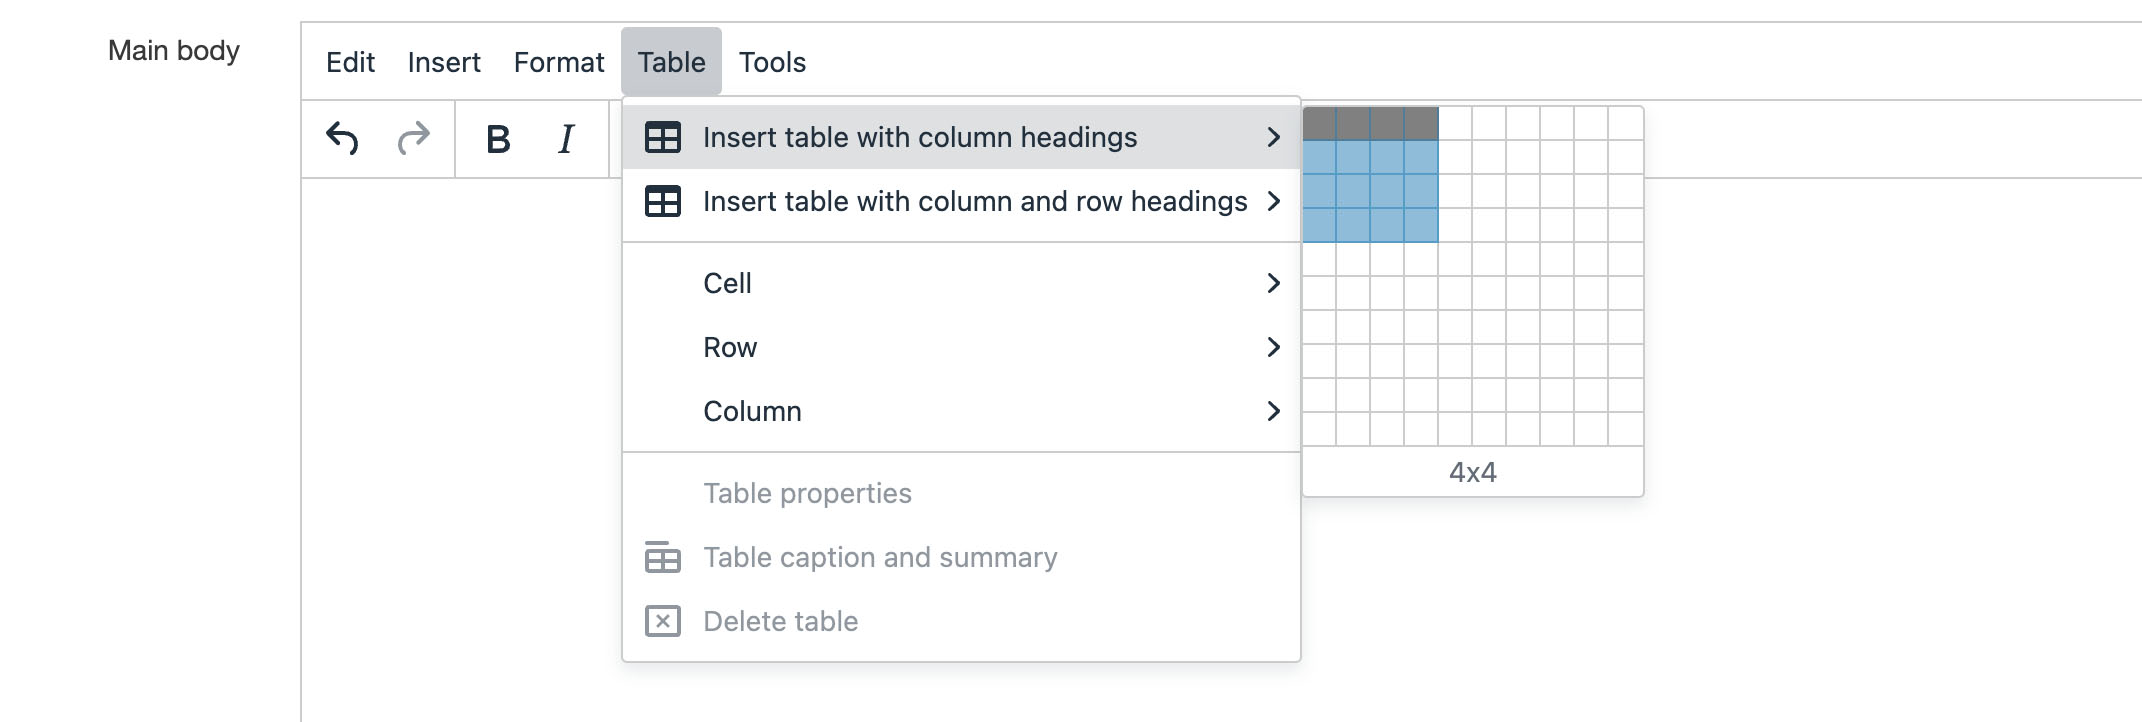
In this example, a 4x4 table has been chosen.
2. Add your contents to the table
3. Add a caption and summary
Adding a summary and/or caption is very important for accessibility to ensure your table is found and understood by users of screen readers.
- Captions help users to find a table and understand what it's about. They are the primary mechanism used by screen readers to identify tables
- A summary gives information about how a table is organized and provides. information on how to navigate through it's data.
To add a caption or summary go to the Table menu and click on Table caption/summary
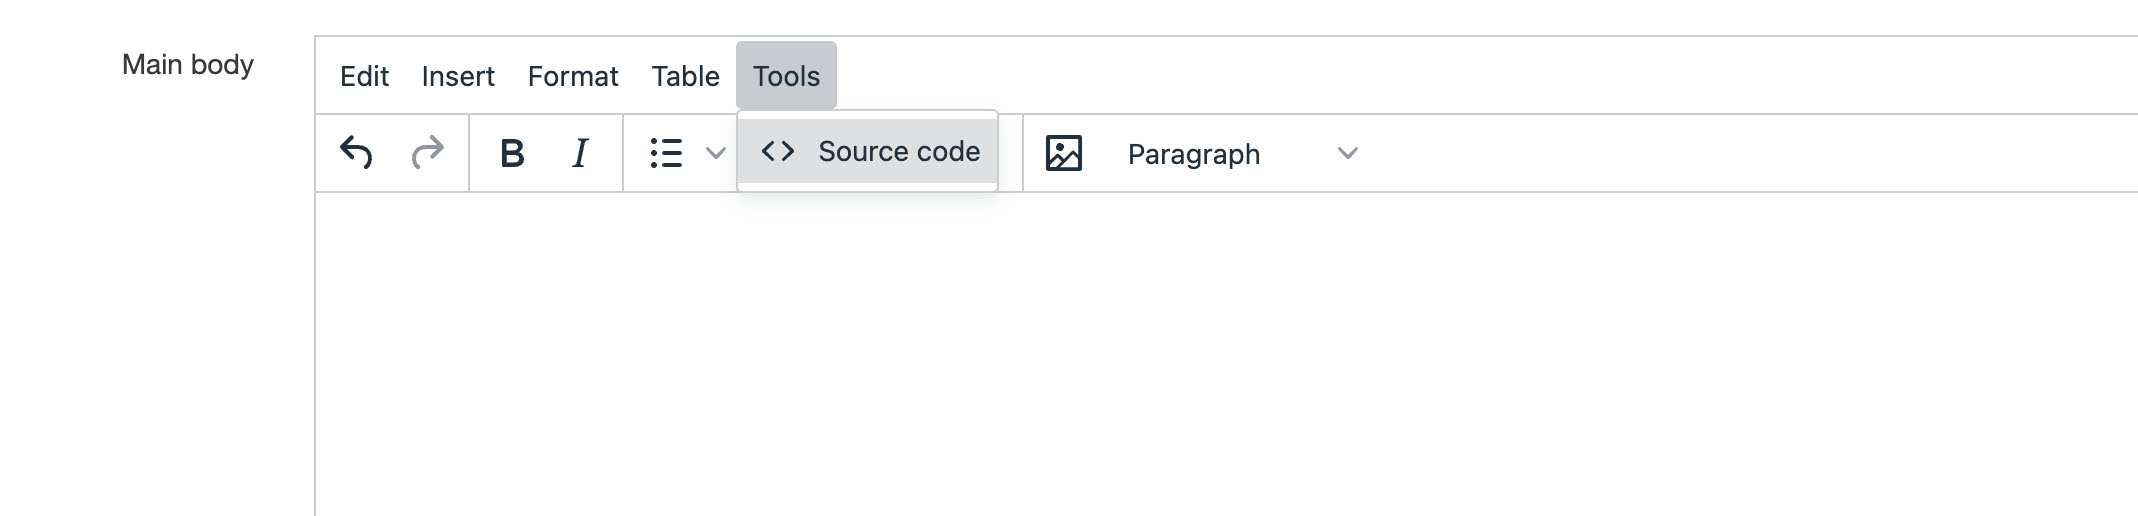
Source code - gives you limited access to edit the HTML code of the text editor. We recommend not using this unless you are familiar with HTML.
Button row

From left to right:
- Undo - undoes the last operation
- Redo - Redoes the last 'Undo' operation
- Bold - Changes the selected text to bold to add emphasis. You can also use your keyboard - Ctrl+B (Command+B on Mac)
- Italic - Italicises the current selection. You can also use your keyboard - Ctrl+I (Command+I on Mac)
- Bullet list - Formats the current selection as an unordered bullet list
- Number list - Formats the current selection as an ordered number list
- Insert link
- Insert section link - Inserts a link to a section (another T4 web page) - you must use this when linking to other pages in T4
- Insert external link - Inserts a link to an external URL. This is any web page not on T4 including the Imperial news and events websites. You can also use this for adding email address links. When you add an email address e.g. j.bloggs@imperial.ac.uk, T4 will ask you if you want to add mailto: to the link. Click Yes. You can also type email addresses directly into the text editor and it will convert to an email address link.
- Unlink - Removes links from the current selection.
- Insert file link or image - Select a document file or image from the Media Library. When selected, a Media Library dialogue box is opened where you can search for a Media Item. Images are placed into the text editor and can be resized if necessary. When other file types are selected (e.g., a Word document or PDF ), a link to the file is added. Please see Using images in your content or Adding documents: pdfs, Word, zip etc. for more guidance.
- Text styles (blocks) - List of the available text styles from Heading 2-6 and Paragraph. These options will vary depending on the content type you are using.